How to Build a Private Campsite Like a Millionaire Next Door
A story about a “King of Tents” quietly enjoying his own private campsite captures a simple dream: having a place where every view feels like it belongs to you. You don’t need celebrity status or a fortune to get close to that feeling. With good planning, you can design a modest, personal camping spot that fits your budget and lifestyle. This guide walks through the practical steps, from land and layout to gear, comfort, and safety.
From "Every Place I Can See" to Your Own Piece of Ground
The idea of a private campsite where "every place I can see is my land" taps into a powerful desire for freedom and quiet ownership. While that phrase became famous through a tent-loving personality known as the "King of Tents" in a Millionaire Next Door-style feature, the underlying concept is much more accessible than it sounds. What you really need is not endless land, but smart design, respect for nature, and a clear plan for comfort and safety.
This article breaks down how to plan, build, and enjoy a personal camping site—whether it’s on land you own, shared family property, or a long-term rented plot.
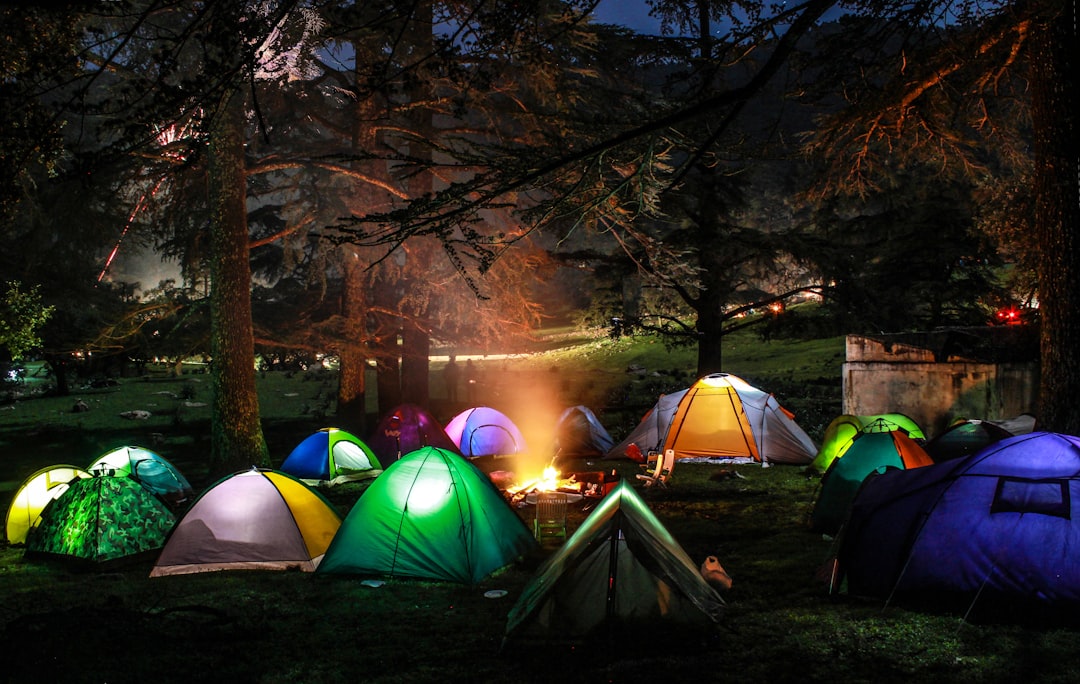
Step 1: Clarify Your Vision and Budget
Before you buy a single tent pole, define what “private campsite” means for you. The "Millionaire Next Door" idea is about living well but sensibly—and that applies perfectly here.
Decide on the Purpose
- Solo retreat: Minimal footprint, one tent, quiet corners for reading and reflection.
- Family basecamp: Multiple sleeping areas, kid-friendly spaces, and safety-forward design.
- Social hub: Central gathering space, shared kitchen, and room for guests’ tents or vehicles.
- Work + escape: A tent with a desk, reliable power, and strong enough connectivity for remote work.
Set a Realistic Budget
Costs vary dramatically depending on land, infrastructure, and comfort level. List your big-ticket items first:
- Land or long-term site access fees
- Main tent or shelter structures
- Platform or deck materials (if needed)
- Power and lighting systems
- Water access and sanitation
Then decide where you want to splurge. The "King of Tents" persona implies a focus on shelters; you might instead prioritize a great mattress, a wood deck, or a compact kitchen setup.
Step 2: Choosing and Assessing Your Site
Whether it’s a backyard corner or a remote hillside, your site choice will define how often you actually use your private camp.
Key Factors When Choosing Land
- Access: All-season road or trail? Will your vehicle make it after heavy rain?
- Topography: Flatter areas are better for tents and drainage, but slight slopes help water run off.
- Orientation: Where does the sun rise and set? Good views plus strategic shade can transform comfort.
- Wind and shelter: Natural windbreaks like trees, hills, or rock walls are invaluable.
- Regulations: Check zoning, camping restrictions, fire regulations, and septic rules before investing.
Do a Simple Site Survey
- Visit at different times of day (and if possible, in different seasons).
- Note sun, shade, wind direction, and noisy neighbors (roads, factories, nightlife).
- Walk after rain to see where water collects or flows.
- Mark potential tent spots, firepit locations, and paths with small flags or stones.
- Take photos from key vantage points—the ones you want to enjoy from your chair or tent door.
Step 3: Designing the Layout of Your Private Camp
A thoughtful layout creates that "this is my world" feeling even on a modest plot. Think in zones instead of isolated items.
Core Zones to Plan
- Sleeping zone: Tents, platforms, or cabins; ideally on raised, well-drained ground.
- Fire and social zone: Firepit or stove, seating circle, and maybe a simple overhead tarp.
- Cooking zone: Table, stove, food storage, and washing-up area away from sleeping space.
- Hygiene zone: Toilet solution and simple shower or wash station, positioned for privacy.
- Storage and utility zone: Lockable boxes or a small shed for gear, tools, and fuel.
Flow and Privacy
Arrange paths so people naturally move without cutting through private areas. Use trees, screens, or tent orientation to create privacy between the sleeping zone and social/kitchen zones. Leave enough space for expansion if you add more tents later.
Step 4: Selecting Tents and Shelter Structures
The "King of Tents" identity comes from obsession with shelters—and for good reason. Tents shape your comfort, seasons of use, and the overall look of the site.
Common Tent Options
| Type | Best For | Pros | Cons |
|---|---|---|---|
| Dome/Family Tent | Weekend and family trips | Affordable, easy to pitch, portable | Shorter lifespan, less stable in strong wind |
| Canvas Bell Tent | Glamping-style basecamp | Spacious, breathable, stylish | Heavier, pricier, needs maintenance |
| Wall Tent | All-season semi-permanent use | Very roomy, stove-compatible | Requires strong frame, more setup time |
| Yurt or Cabin Tent | Long-term stay, work retreats | Feels like a tiny home, good insulation | Highest cost and infrastructure needs |
Foundations and Platforms
If your site is long-term, a simple wooden deck or gravel pad makes a big difference. It protects your tent floor, improves drainage, and adds a subtle feeling of permanence without becoming a full building project.
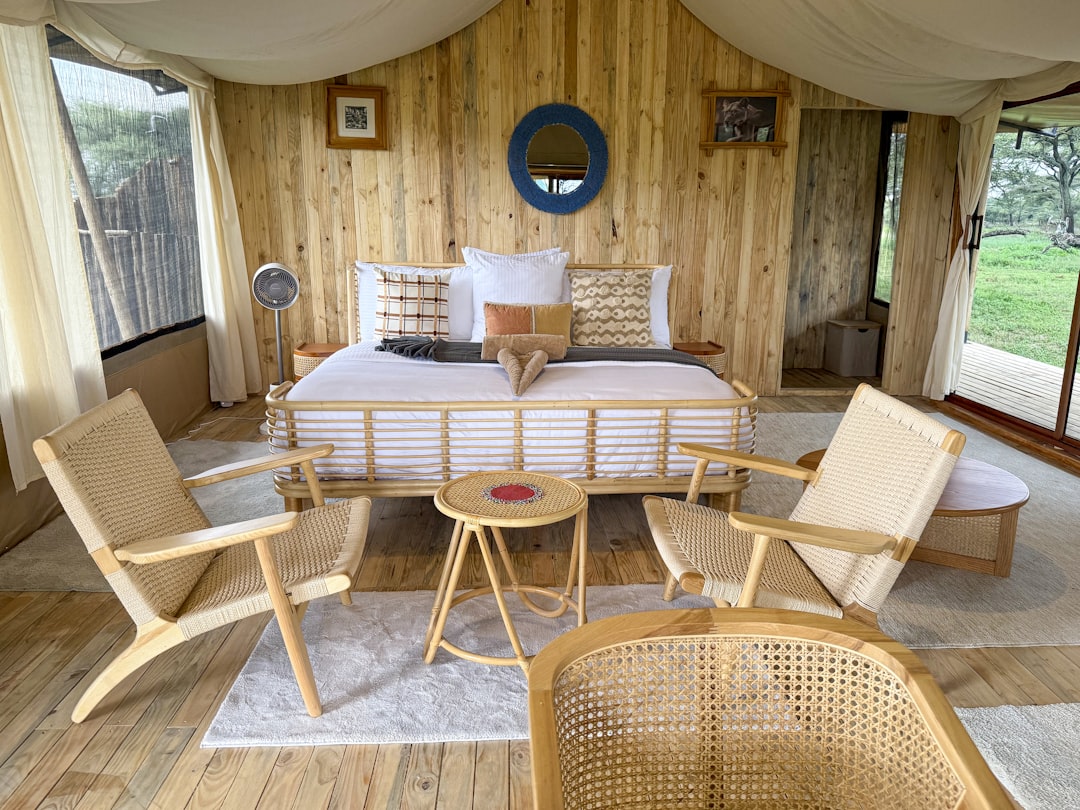
Step 5: Power, Lighting, and Water
A private campsite can be totally off-grid, comfortably semi-connected, or nearly as equipped as a tiny house. Choose the level that fits your style.
Power Options
- Minimalist: Headlamps, lanterns, and power banks only.
- Solar-based: Portable solar panels paired with a power station for lights, laptops, and small appliances.
- Generator-assisted: Small, quiet generator used sparingly, plus solar for daily basics.
Keep wiring simple and protected from moisture and curious animals. Designate a dry, central place to store batteries and electronics.
Lighting Strategies
- Warm string lights in social areas for ambiance.
- Task lamps in the kitchen and inside tents.
- Motion-activated lights near paths and toilets for safety.
Water and Hygiene
At minimum, plan for:
- Drinking water (carried in or filtered from a safe source).
- A dishwashing station with greywater disposal away from streams.
- A toilet solution that follows local regulations (composting toilet, portable unit, or approved septic).
Step 6: Comfort, Atmosphere, and Seasonal Use
What makes a private camp feel “rich” isn’t price—it’s thoughtful comfort and attention to small rituals, much like the Millionaire Next Door mindset in daily life.
Simple Upgrades that Feel Luxurious
- A real mattress or deep sleeping pad with quality bedding.
- Rugs or wooden pallets to keep feet off cold ground.
- Comfortable chairs around the fire, not just low camp stools.
- One or two beautiful lanterns or well-placed lamps.
Preparing for Seasons
- Hot weather: Shade tarps, reflective sun shades, and light-colored fabrics.
- Cool nights: Extra blankets, hot water bottles, and a safe tent-compatible heater where allowed.
- Rain: High-quality flysheets, guttering on tent edges, and dry storage crates.
Copy-Paste Checklist: Weekend-Ready Private Camp
Sleeping: tent + groundsheet + mattress + warm bedding
Cooking: stove + fuel + lighter + pot/pan + cutting board + wash basin
Lighting: 2 headlamps + 1 lantern + spare batteries
Safety: first-aid kit + fire extinguisher + whistle + local emergency numbers
Comfort: chairs + rug or mat + tarp for shade/rain
Hygiene: drinking water + soap + toilet plan + trash bags
Step 7: Safety, Etiquette, and Environmental Care
A private site doesn’t mean ignoring rules or nature. Responsible design keeps you and your environment safe.
Fire Safety Basics
- Check fire regulations daily during dry seasons.
- Clear flammable material in a 10-foot radius around firepits.
- Keep water, sand, or a fire extinguisher within arm’s reach.
- Extinguish fully: drown, stir, and feel for residual heat.
Respect for Neighbors and Wildlife
- Limit loud music and generators, especially at night.
- Store food in sealed containers to avoid attracting animals.
- Pack out trash and recyclables; do not bury or burn plastics.
- Stay within your boundaries and respect property lines.
Step 8: Making It Truly Yours
That sense of "everywhere I look is mine" often comes from emotional connection more than legal acreage. Small, repeated rituals build that bond.
Rituals and Personal Touches
- Plant a tree or small garden near your main tent.
- Keep a camp journal noting weather, wildlife, and memories.
- Design a simple “arrival routine” (first coffee spot, first walk, first fire).
- Rotate a favorite piece of art or a small bookshelf in your main shelter.
Over time, these details turn a set of tents on land into a lived-in personal retreat.
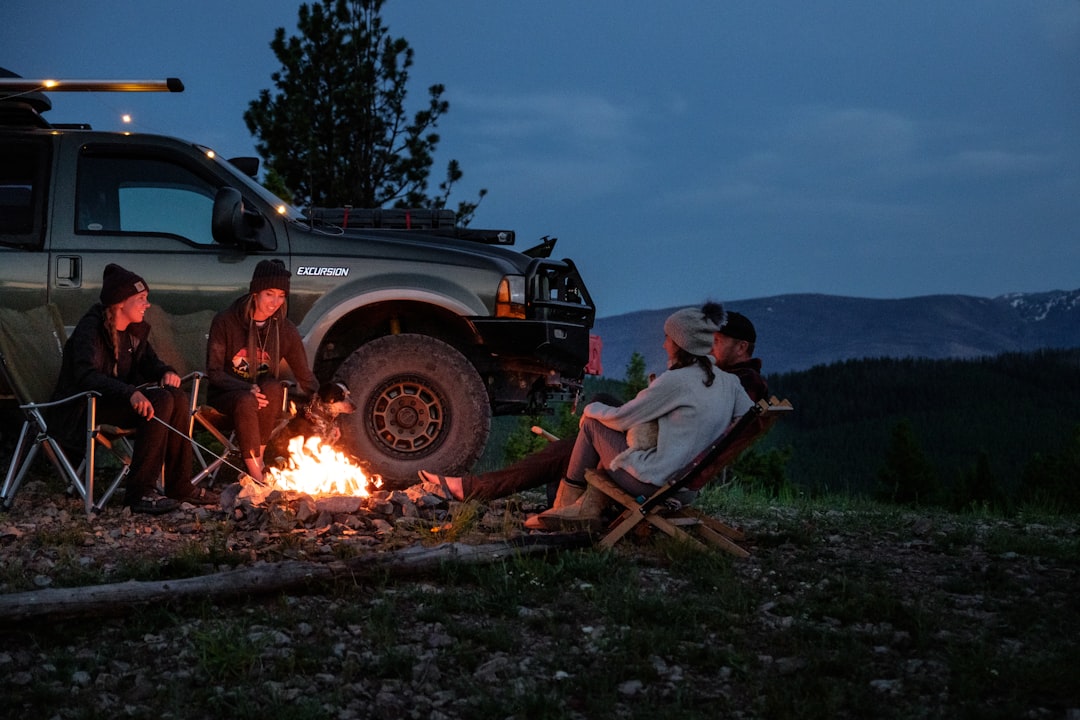
Final Thoughts
You may never own every hilltop you can see, but you don’t need to. A well-planned private campsite can compress that expansive feeling into a manageable patch of ground. By choosing your site carefully, investing in the right tents and utilities, and treating comfort and safety as essentials—not luxuries—you create a retreat that quietly feels "rich" every time you step into it. Start small, refine with each visit, and let your own habits turn a simple camp into your personal kingdom of tents.
Editorial note: This article was inspired by a feature on a tent enthusiast dubbed the "King of Tents" in a Millionaire Next Door-style story. For the original context, visit the source publication.